After installing my Garage Door Controller, I wanted my next project to be something cooler. Of course, there’s nothing cooler than a smart gas fireplace.
Here is a list of things you will need to get started:
- A gas fireplace. Read below to make sure your fireplace will work with this.
- Wemos D1 Mini | AliExpress
- MicroUSB Cable and Charger for Wemos
- 5V Relay | AliExpress
- Dupont jumpers | AliExpress
- Electronic Project Case (Optional)
Software that you will need:
- Home Assistant configured with an MQTT broker such as Mosquitto
- Arduino IDE | How to setup Arduino IDE with a Wemos D1 Mini
I created a gallery of all the images for this project in case anyone needs a closer look at any of the wiring.
I want to start off by saying that this project is based on the way my fireplace (Heatilator) works and the way I have seen many other fireplaces work. I am by no means an expert on fireplaces. I strongly urge you to exercise caution and make sure you fully understand how your fireplace works and how this project works before you proceed. Feel free to ask any questions if you have any uncertainty. I don’t want anyone to get hurt doing this.
The first step is to make sure you will be able to provide power for the Wemos. Open up the vent under your fireplace. There may or may not be an outlet there. And if there is one, it may not actually have power to it. If you don’t have power there, you will need to install power to it so that the Wemos can run. Many fireplaces have an outlet above the fireplace, and you may be able to run a wire behind the wall to drop down into the fireplace. If you aren’t comfortable with any of this, get an electrician to do this.
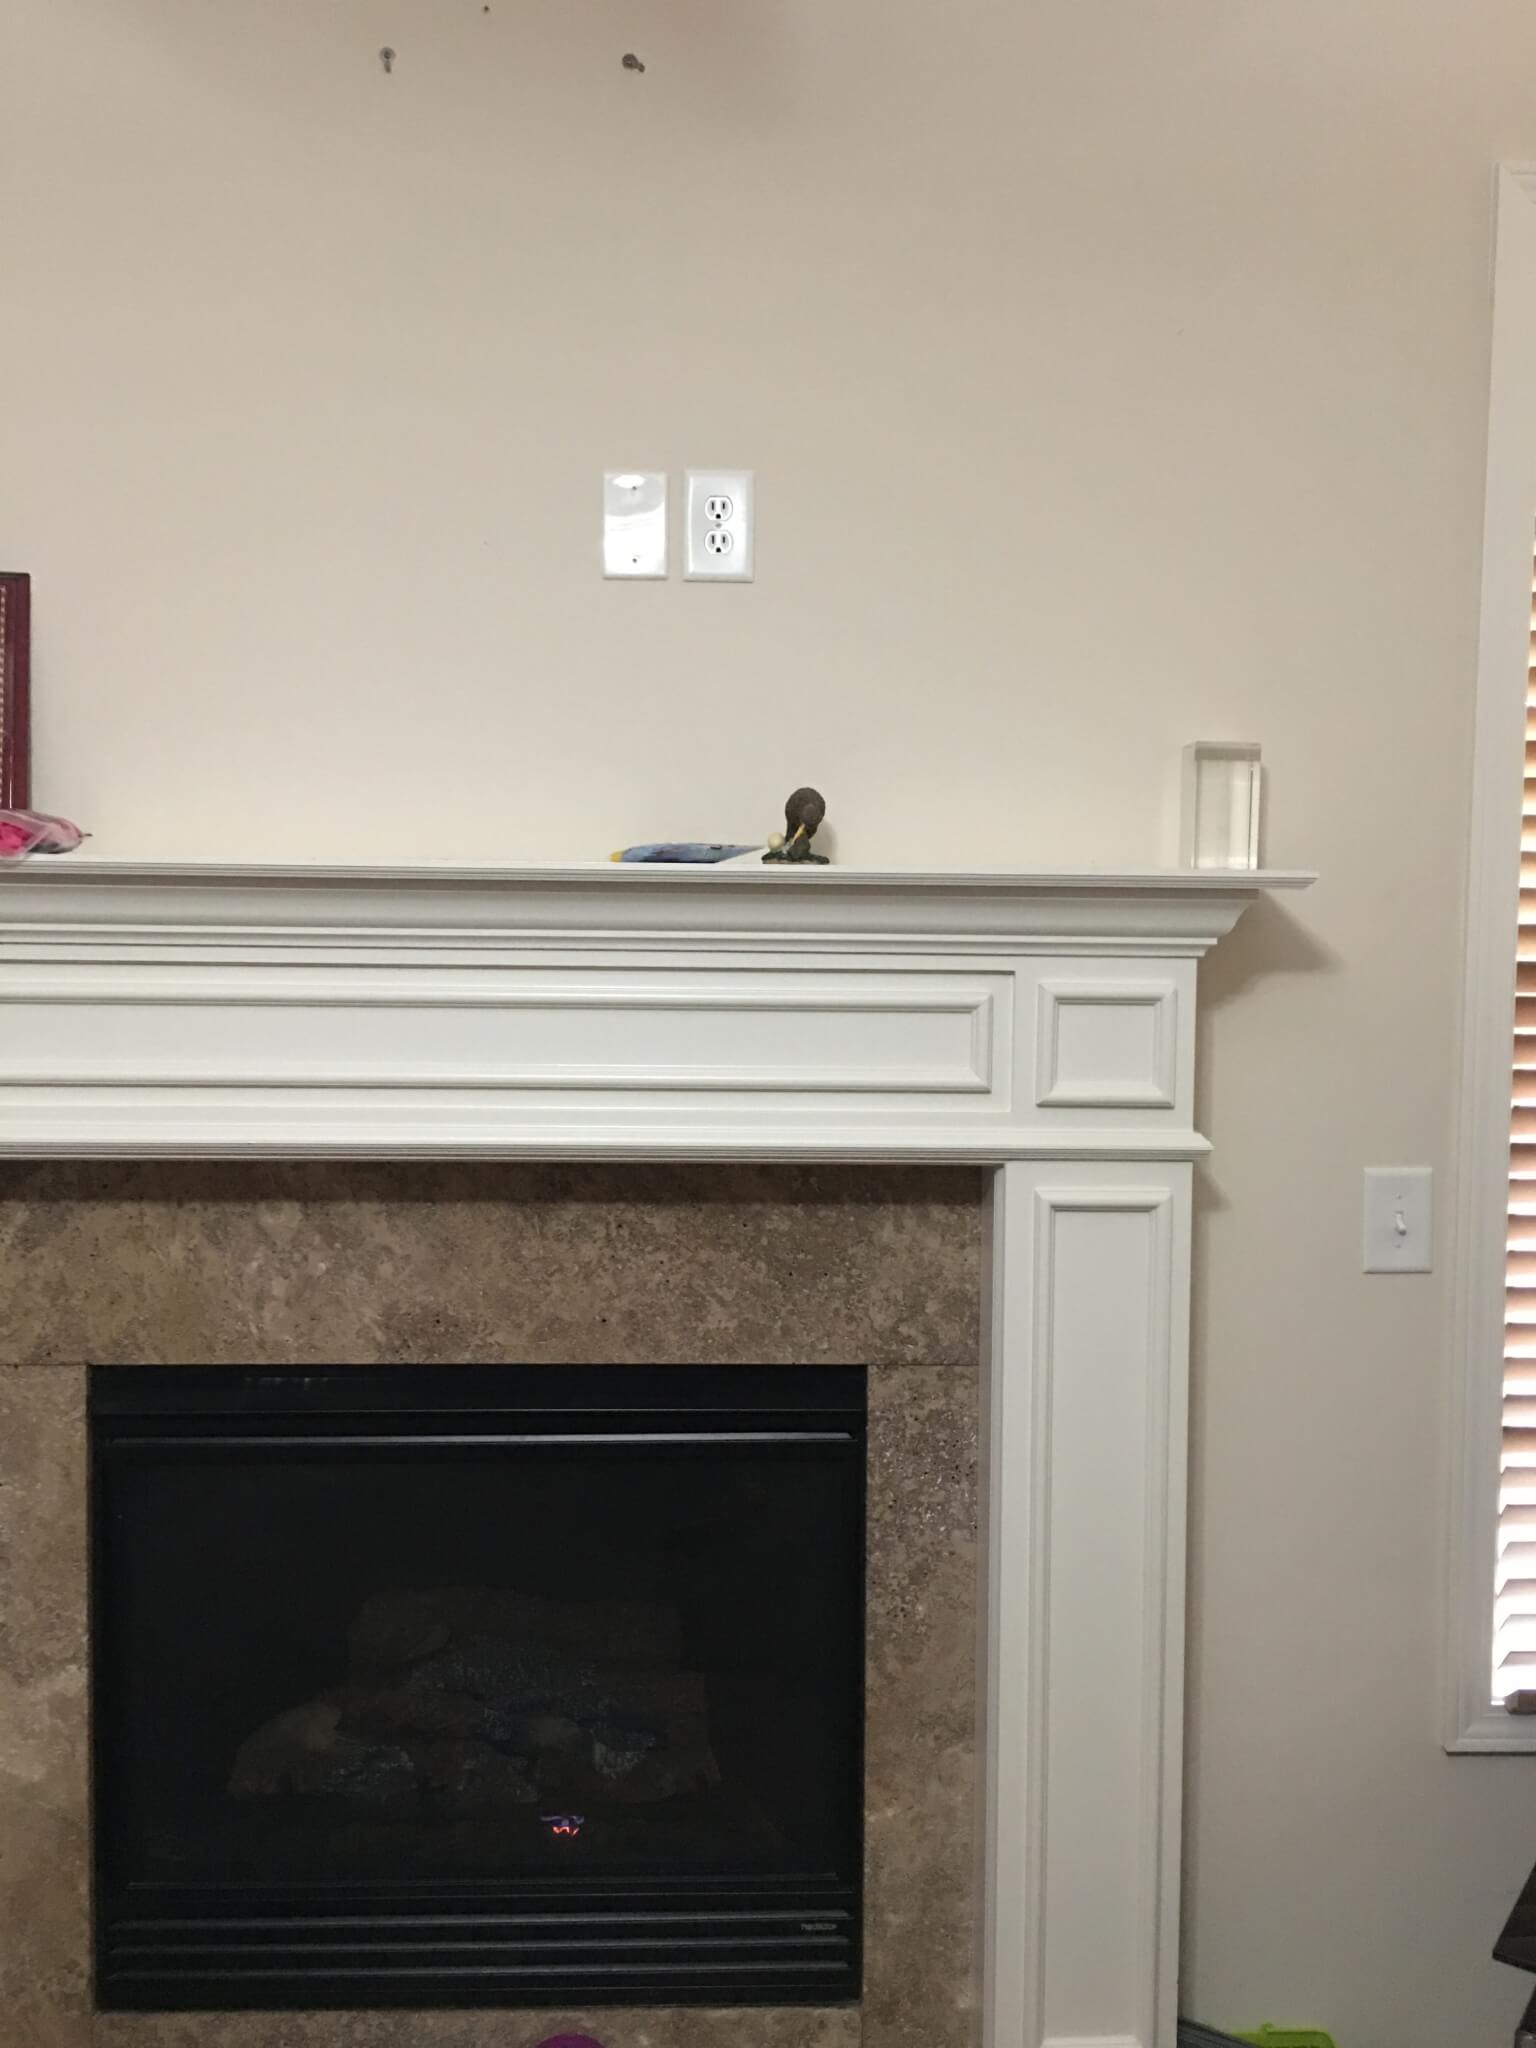
Below is a picture of my fireplace. I had an outlet behind the vent underneath the fireplace, but it wasn’t actually wired up. Lucky for me, the area behind the wall around the fireplace is a large open area, so I was able to easily run an electric cable from the outlet above the fireplace to the outlet below the fireplace.
Also, this assumes you control the fireplace using a wall switch. When you flip the switch, the fireplace comes on. If you have that type of fireplace, this project will work for you. Just to make sure, find the wire coming from the switch going underneath the gas fireplace. If you short the terminals that the wires are connected to, then the fireplace should turn on. For this project, the 5V relay will short those 2 terminals to turn the fireplace on.

The next step is to wire it up according to the schematic below. It’s pretty straight-forward as we are just working with a single relay connected to the Wemos D1 Mini. Feel free to use another GPIO pin if you wish. But keep in mind that some pins will go high for a split second when the Wemos boots up. The output pins of the relay will connect to the 2 terminals from the fireplace. If you used a case, then put the Wemos and the relay into the case. A case isn’t absolutely required since it will be concealed behind the vent, but you need to be careful since the fireplace is likely metal and you might short something.


If you don’t have Home Assistant and MQTT, then use the following code in Arduino IDE. If you already have Home Assistant and MQTT set, then use the code after this next block.The first set of code has a web interface that can be used to control the fireplace. The second one can only be controlled by Home Assistant/MQTT.
Which ever code you decide to use, be sure to change the Custom Params section to match your environment. By default, I have the fireplace set to turn off after 30 minutes. You can set that higher if you prefer by changing the FireAutoOff parameter. Just like the garage door controller, this one has OTA functionality to be able to load future changes via the web interface
Use this code for standalone:
#include <ESP8266WiFi.h> //ESP8266 Core WiFi Library (you most likely already have this in your sketch)
#include <DNSServer.h> //Local DNS Server used for redirecting all requests to the configuration portal
#include <ESP8266WebServer.h> //Local WebServer used to serve the configuration portal
#include <WiFiManager.h> //https://github.com/tzapu/WiFiManager WiFi Configuration Magic
#include <ESP8266mDNS.h>
#include <ESP8266HTTPUpdateServer.h>
////**********START CUSTOM PARAMS******************//
int FireAutoOff = 30; //Time, in Minutes the fireplace will auto off.
//Define parameters for the http firmware update
const char* host = "FireplaceESP";
const char* update_path = "/WebFirmwareUpgrade";
const char* update_username = "admin";
const char* update_password = "espP@ssword";
//Define the pins
#define RELAY_PIN 5
//************END CUSTOM PARAMS********************//
const char compile_date[] = __DATE__ " " __TIME__;
ESP8266WebServer httpServer(80);
ESP8266HTTPUpdateServer httpUpdater;
long FireOnTime = 0;
String switch1;
WiFiManager wifiManager;
long lastMsg = 0;
String webPage = "";
void setup() {
//Set Relay(output) pins and set the relay to be open initially
pinMode(RELAY_PIN, OUTPUT);
pinMode(RELAY_PIN, LOW);
Serial.begin(115200);
//Set the wifi config portal to only show for 3 minutes, then continue.
wifiManager.setConfigPortalTimeout(180);
wifiManager.autoConnect(host);
//setup http firmware update page.
MDNS.begin(host);
httpUpdater.setup(&httpServer, update_path, update_username, update_password);
httpServer.begin();
MDNS.addService("http", "tcp", 80);
Serial.printf("HTTPUpdateServer ready! Open http://%s.local%s in your browser and login with username '%s' and your password\n", host, update_path, update_username);
//Setup the web page to control the fireplace
webPage += "<h1>ESP8266 FirePlace</h1><p><a href=\"FPon\"><button>🔥</button></a> <a href=\"FPoff\"><button style=\"background-color:lightCoral\">🚫 OFF</button></a></p>";
httpServer.on("/", [](){
httpServer.send(200, "text/html", webPage);
});
//Do this when the On button is pressed
httpServer.on("/FPon", [](){
webPage = "<h1>ESP8266 FirePlace</h1><p><a href=\"FPon\"><button style=\"background-color:lightgreen\">🔥 ON</button></a> <a href=\"FPoff\"><button>🚫 OFF</button></a></p>";
httpServer.send(200, "text/html", webPage);
pinMode(RELAY_PIN, HIGH);
FireOnTime = millis();
delay(1000);
});
//Do this when the Off button is pressed
httpServer.on("/FPoff", [](){
webPage = "<h1>ESP8266 FirePlace</h1><p><a href=\"FPon\"><button>🔥 ON</button></a> <a href=\"FPoff\"><button style=\"background-color:lightCoral\">🚫 OFF</button></a></p>";
httpServer.send(200, "text/html", webPage);
pinMode(RELAY_PIN, LOW);
FireOnTime = millis();
delay(1000);
});
}
void loop() {
httpServer.handleClient(); //checks to see if there are any HTTP requests waiting and processes them
//Turns the Fireplace off after *FireAutoOff* minutes. Also turns it off
//at that interval, just in case.
if ((millis() - FireOnTime) / 1000 / 60 > FireAutoOff ){
Serial.println("OFF");
webPage = "<h1>ESP8266 FirePlace</h1><p><a href=\"FPon\"><button>🔥 ON</button></a> <a href=\"FPoff\"><button style=\"background-color:lightCoral\">🚫 OFF</button></a></p>";
pinMode(RELAY_PIN, LOW);
FireOnTime = millis();
}
}Use this code with Home Assistant/MQTT. This code assumes that you are using a username and password to connect to your MQTT broker. If you are not, then you will need to edit the appropriate lines.
#include <ESP8266WiFi.h>          //ESP8266 Core WiFi Library (you most likely already have this in your sketch)
#include <DNSServer.h>            //Local DNS Server used for redirecting all requests to the configuration portal
#include <ESP8266WebServer.h>     //Local WebServer used to serve the configuration portal
#include <WiFiManager.h>          //https://github.com/tzapu/WiFiManager WiFi Configuration Magic
#include <PubSubClient.h>         //MQTT
#include <ESP8266mDNS.h>
#include <ESP8266HTTPUpdateServer.h>

////**********START CUSTOM PARAMS******************//
int FireAutoOff = 30; //Time, in Minutes the fireplace will auto off.

//Define parameters for the http firmware update
const char* host = "FireplaceESP";
const char* update_path = "/WebFirmwareUpgrade";
const char* update_username = "admin";
const char* update_password = "YourP@ssword";

//Define the pins
#define RELAY_PIN 5


//Define MQTT Params
#define mqtt_server "MQTT Broker IP Address"
#define state_topic "living/fireplace/status"
#define switch_topic "living/fireplace/switch"
const char* mqtt_user = "mqtt_user";
const char* mqtt_pass = "mqtt_p@ss";

//************END CUSTOM PARAMS********************//
const char compile_date[] = __DATE__ " " __TIME__;

ESP8266WebServer httpServer(80);
ESP8266HTTPUpdateServer httpUpdater;
long FireOnTime = 0;
WiFiClient espClient;

PubSubClient client(espClient);

String switch1;
String strTopic;
String strPayload;

WiFiManager wifiManager;
long lastMsg = 0;

void setup() {
  //Set Relay(output)  pins
  pinMode(RELAY_PIN, OUTPUT);
  pinMode(RELAY_PIN, LOW);

  Serial.begin(115200);

  //Set the wifi config portal to only show for 3 minutes, then continue.
  wifiManager.setConfigPortalTimeout(180);
  wifiManager.autoConnect(host);

  client.setServer(mqtt_server, 1883);
  client.setCallback(callback); //callback is the function that gets called when something publishes to a subscribed topic

  //setup http firmware update page.
  MDNS.begin(host);
  httpUpdater.setup(&httpServer, update_path, update_username, update_password);
  httpServer.begin();
  MDNS.addService("http", "tcp", 80);
  Serial.printf("HTTPUpdateServer ready! Open http://%s.local%s in your browser and login with username '%s' and your password\n", host, update_path, update_username);
}

void loop() {
  //If MQTT client can't connect to broker, then reconnect
  if (!client.connected()) {
    Serial.println("It's not connected for some reason");
    reconnect();
  }

  client.loop(); //the mqtt function that processes MQTT messages
  httpServer.handleClient(); //handles requests for the firmware update page

  //Turns the Fireplace off after *FireAutoOff* minutes.
  if ((millis() - FireOnTime) / 1000 / 60 > FireAutoOff ){
      Serial.println("OFF");
      pinMode(RELAY_PIN, LOW);
      client.publish(state_topic, "Off");
      FireOnTime = millis();
  }
}

void callback(char* topic, byte* payload, unsigned int length) {
  //if the 'living/fireplace/switch' topic has a payload On/Off turn on/off
  payload[length] = '\0';
  strTopic = String((char*)topic);
  if (strTopic == switch_topic)
  {
    switch1 = String((char*)payload);
    if (switch1 == "On")
    {
      Serial.println("ON");
      pinMode(RELAY_PIN, HIGH);
      client.publish(state_topic, "On");
      FireOnTime = millis();
    }
    else if (switch1 == "Off")
    {
      Serial.println("OFF");
      pinMode(RELAY_PIN, LOW);
      client.publish(state_topic, "Off");
      FireOnTime = millis();
    }
  }
}


void reconnect() {
  //Reconnect to Wifi and to MQTT. If Wifi is already connected, then autoconnect doesn't do anything.
  wifiManager.autoConnect(host);
  Serial.print("Attempting MQTT connection...");
  if (client.connect(host, mqtt_user, mqtt_pass)) {
    Serial.println("connected");
    client.subscribe("living/fireplace/#");
  } else {
    Serial.print("failed, rc=");
    Serial.print(client.state());
    Serial.println(" try again in 5 seconds");
    // Wait 5 seconds before retrying
    delay(5000);
  }
}
Once you have the code loaded, the Wemos will advertise itself as a Wifi Access Point which you can connect to in order to setup Wifi on the Wemos.
If you use the standalone code, you should be able to access it via http://fireplaceesp.local/
Otherwise, you may have to find the IP address of it through your wireless router. Here’s what it should look like:

If you are using Home Assistant, you need to setup theMQTT Switch Component. Just copy and paste the following config into your Home Assistant YAML file.
switch:
  - platform: mqtt
    name: "Fireplace"
    command_topic: "living/fireplace/switch"
    state_topic: "living/fireplace/status"
    payload_on: "On"
    payload_off: "Off"
    optimistic: false
    retain: false
Here’s what it should look like in Home Assistant:

The Wall Switch. You may be wondering what happens when you use the wall switch. Well, assuming you left it connected to the terminals, the wall switch will also be able to turn the fireplace on and off. Keep in mind that if the Wemos or the wall switch turn the fireplace on, then the other won’t be able to turn it off. Another option is to disconnect the wall switch so the Wemos is the only thing that can control it. One more option is to wire the wall switch to the Wemos, and add some code to be able to handle that. This way, if you were to turn the wall switch on, you can still control it using Home Assistant. If there are enough people that want to see this, I might create an update for this post to add that in there.
Optionally, if you have have an Apple IOS device, you could use HomeBridge with the Home Assistant Plugin and control the fireplace using Siri.
I hope this post was helpful. If you have any questions or need any help feel free to comment below.
Keep these coming! I ordered five wemos and should be arriving soon. Any thoughts on using the wemos with the IR module from AliExpress?
I’m glad you liked them. Thanks for the feedback.
I haven’t personally used the IR modules. But I’ve seen a few forum posts on the Internet with people using them. I plan on getting some of those eventually.
Very nice. I’ll have to give this a try.
I’m new to Arduino. I’d love to see how you handle adding the wall switch into the mix.
It may be a while before I get around to that. But what I plan on doing is just checking if the switch changes from On to Off, or Off to On. If it goes from Off to On, then I turn the fireplace on, and start the XX minute timer to automatically turn the fireplace off. If I go from On to Off, then turn the fireplace off if it’s not already off(due to the timer). Let me know if you need any help with it.
Hello, this is exactly something I have been looking for. I have a Heatilator as well however my wiring is a little different than what you shared. I posted in this forum along with the pics of my wiring from the switch to underneath the fireplace.
I assume where the wires terminate on that control box is where I would need to connect the relay?
Thanks for any help you could provide.
I had to do some minor changes to get it working, i also added a patz to set static ip Addresses.
#include <ESP8266WiFi.h> //ESP8266 Core WiFi Library (you most likely already have this in your sketch)
#include <DNSServer.h> //Local DNS Server used for redirecting all requests to the configuration portal
#include <ESP8266WebServer.h> //Local WebServer used to serve the configuration portal
#include <WiFiManager.h> //https://github.com/tzapu/WiFiManager WiFi Configuration Magic
#include <ESP8266mDNS.h>
#include <ESP8266HTTPUpdateServer.h>
////**********START CUSTOM PARAMS******************//
int FireAutoOff = 10; //Time, in Minutes the fireplace will auto off.
//Define parameters for the http firmware update
const char* host = “ESP-Relay”;
const char* update_path = “/WebFirmwareUpgrade”;
const char* update_username = “admin”;
const char* update_password = “admin”;
//Define the pins
//https://escapequotes.net/esp8266-wemos-d1-mini-pins-and-diagram/
#define RELAY_PIN D4 // GPIO2 is builtin LED on ESP8266 for testing
//************END CUSTOM PARAMS********************//
const char compile_date[] = __DATE__ ” ” __TIME__;
ESP8266WebServer httpServer(80);
ESP8266HTTPUpdateServer httpUpdater;
long FireOnTime = 0;
String switch1;
long lastMsg = 0;
String webPage = “”;
void setup() {
WiFiManager wifiManager;
//reset settings – for testing
//wifiManager.resetSettings();
//set static ip
//the commented bit only works for ESP8266 core 2.1.0 or newer
/*IPAddress _ip,_gw,_sn;
_ip.fromString(static_ip);
_gw.fromString(static_gw);
_sn.fromString(static_sn);
*/
IPAddress _ip = IPAddress(192, 168, 0, 30);
IPAddress _gw = IPAddress(192, 168, 0, 1);
IPAddress _sn = IPAddress(255, 255, 255, 0);
wifiManager.setSTAStaticIPConfig(_ip, _gw, _sn);
//Set Relay(output) pins and set the relay to be open initially
pinMode(RELAY_PIN, OUTPUT);
digitalWrite(RELAY_PIN, LOW);
Serial.begin(115200);
//Set the wifi config portal to only show for 3 minutes, then continue.
wifiManager.setConfigPortalTimeout(180);
wifiManager.autoConnect(host);
//setup http firmware update page.
MDNS.begin(host);
httpUpdater.setup(&httpServer, update_path, update_username, update_password);
httpServer.begin();
MDNS.addService(“http”, “tcp”, 80);
Serial.printf(“HTTPUpdateServer ready! Open http://%s.local%s in your browser and login with username ‘%s’ and your password\n”, host, update_path, update_username);
//Setup the web page to control the fireplace
webPage += “<h1>ESP8266 FirePlace</h1><p><a href=\”FPon\”><button>🔥</button></a> <a href=\”FPoff\”><button style=\”background-color:lightCoral\”>🚫 OFF</button></a></p>”;
httpServer.on(“/”, [](){
httpServer.send(200, “text/html”, webPage);
});
//Do this when the On button is pressed
httpServer.on(“/FPon”, [](){
webPage = “<h1>ESP8266 FirePlace</h1><p><a href=\”FPon\”><button style=\”background-color:lightgreen\”>🔥 ON</button></a> <a href=\”FPoff\”><button>🚫 OFF</button></a></p>”;
httpServer.send(200, “text/html”, webPage);
digitalWrite(RELAY_PIN, HIGH);
FireOnTime = millis();
delay(1000);
});
//Do this when the Off button is pressed
httpServer.on(“/FPoff”, [](){
webPage = “<h1>ESP8266 FirePlace</h1><p><a href=\”FPon\”><button>🔥 ON</button></a> <a href=\”FPoff\”><button style=\”background-color:lightCoral\”>🚫 OFF</button></a></p>”;
httpServer.send(200, “text/html”, webPage);
digitalWrite(RELAY_PIN, LOW);
FireOnTime = millis();
delay(1000);
});
}
void loop() {
httpServer.handleClient(); //checks to see if there are any HTTP requests waiting and processes them
//Turns the Fireplace off after *FireAutoOff* minutes. Also turns it off
//at that interval, just in case.
if ((millis() – FireOnTime) / 1000 / 60 > FireAutoOff ){
Serial.println(“OFF”);
webPage = “<h1>ESP8266 FirePlace</h1><p><a href=\”FPon\”><button>🔥 ON</button></a> <a href=\”FPoff\”><button style=\”background-color:lightCoral\”>🚫 OFF</button></a></p>”;
digitalWrite(RELAY_PIN, LOW);
FireOnTime = millis();
}
}