After a few months of owing my first 3D printer, I wrote a blog post talking about things that I wish I knew when I first got it. It’s now a year later, and I’ve learned a lot since then, so I figured I would share that.
Set your expectations on quality
The main thing I would say is that people are different and have different goals with their 3D printer. I spent a LOT of time at the beginning trying to get my prints perfect. Every little issue I saw on a print, I would research how to fix it. After a while, I realized that the quality of my prints have been more than good enough for my needs. Most of my prints serve a practical purpose and aren’t really on display. As long as they work and are strong, it’s good enough for me. Now, there might be people out there that are printing things they want to put on display. In that case, yes, you will want to get everything right. Either way, it will make your life a lot easier if you know what you intend to do from the beginning.
Adhesion is super important
Most people with a 3D printer know this, but I just want to reiterate. I’ve had more than a few large prints fail because the print started coming up off the bed. Specifically talking about the Ender 5, my biggest complaint with this printer is how the bed is not supported at the front. As far as I know, every Ender 5 sags at the front. I printed these bed supports, and they worked for about 9 months, and they must have warped, because the bed start sagging so much that I couldn’t even adjust the knobs high enough to compensate.
So I printed these supports that use metal rods. Around the same time I was printing these, I was also working on replacing my lead screw. I actually ordered one that was too short, but it worked out since I was able to use that one, and the old lead screw as the rod. Something like this from Amazon should work perfectly. You just need a hacksaw to cut them the right size. I originally printed the part that connected to the bed using PLA. After a whlie, I noticed that it would start to sag again. The nice thing about these is that you can just slide up the part on the z rails upwards and it corrects the sag for a while. However, I think the part on the bed started warping more, so I reprinted it using PETG. It has been solid now. I think the heat from the bed was warping the PLA. It keeps the level much longer now.
Another thing for adhesion to try is using hair spray. However, I’m thinking about switching to a glue stick since I think the hairspray is getting everywhere and possible clogging things up. The glass bed is also a huge benefit. As long as I have the four corners level, the rest of it is good. With the magnetic bed, I have to worry more about warping.

For those of you that are like me, and haven’t and haven’t installed an ABL like BLTouch/3DTouch(I have both, but haven’t gotten around to installing it), it’s super important to make sure your bed is level. Up until a couple weeks ago, I always use a sheet of paper as a gauge. That worked OK. But if you want the best results, get a Feeler Gauge set like this one. I used the .1mm thick piece. After I used that, my first layers looked amazing. It really showed me that the hundredths of a mm variances that can exist with paper can create a drastic change in the quality of the first layer. That said, I do wish they would make a feeler gauge that was just .1mm thick and had a handle and was angled like a spatula. That would make getting it under the nozzle much easier. I might have to design a handle myself.
One more thing I recommend is to always keep an eye on your print, whether in person or via OctoPrint/webcam, during the first few layers. That’s usually when you can spot issues with adhesion.
The lead screw
As I mentioned earlier, I’ve replaced my lead screw with this one. Especially if you have one of the earlier Ender 5’s, I think this upgrade is a must. The original lead screw used 400 esteps. Later versions of the Ender 5 use 800 esteps. the esteps that are used are basically determined by how steep the slope on the screw is. A steeper slope means fewer esteps to make the bed move a certain distance. It also means that the resolution you can move the bed is lower. The screw I bought is 1600. The biggest benefit with the upgraded lead screw is that the bed doesn’t slide down on its own because the slope is not as steep. Another side benefit is that your magic number gets smaller. With the 800 esteps, your magic number becomes .2mm, and with 1600 it becomes 0.1mm. So now I can theoretically use any layer height in .1mm. I’ve printed a couple things at .08mm layer height, and the quality is incredible. Just remember to change your esteps based on the lead screw you get.
I am not happy with the SKR Mini E3 v1.2
NOTE: I have no idea if the issues have been fixed in in the new version of the board. But I’ve heard A LOT of stories of people having to replace their board within a year of owning it. I haven’t heard nearly as many stories about the stock Creality board. I haven’t contact BTT about this yet, but I plan on doing so and I will update this note once I hear back from them.
So I was not planning on saying much about this board. I thought it was good with its silence and Marlin’s linear advance. And I think it was when I first got it. However, over the past 3 months, my prints were getting slowly worse. I thought it was slicer settings. I thought it was firmware. I spent hours troubleshooting both things, with no progress. Just a few days ago, I found the problem. The board was dying. It must have been this way for months. But just recently, I saw “TMC Connection Error” on the screen. The week leading up to this, I was getting severe under-extrusion, that I thought may have just been the PLA or a clog. It wasn’t. In OctoPrint, I ran an M122 command, and it basically said 3 of the 4 axis were bad. And this leads me to my next topic:
Klipper
I put my old board back, and I wish I would have just stayed with it. I put Klipper on there. It is awesome. I started messing with the resonance compensation feature(which is technically considered experimental), and it has helped a lot with the slight ghosting I was seeing. This is something Marline doesn’t have. If you are seeing ghosting, I think you should give this a shot. Of course, the only drawback to the stock board is the noise, but my printer is in the basement in a separate room, so the noise isn’t an issue for me.
You can see my config for the Ender 5 here. If you use it, I suggest that you leave out that last section and run your own PID tuning. And also leave out the “input_shaper” section. That’s for the resonance compensation, and you should probably find the numbers yourself since it will be unique for your printer.
Tighten your screws
A few months ago, I started seeing some severe ghosting. Upon inspection, it turned out my hotend was loose. I regularly check the screws on the frame and tighten them. I even remove the nozzle every once in a while, but I never noticed the hotend. There 2 screws holding it to the heat break. I tightened those screws, and everything was back to normal.
Vibrations
I never really thought about printer vibration a whole lot until I read into the resonance tuning feature in Klipper. Vibrations can be a big source of ghosting on your print. I thought all I could do is make sure the belts have the right about of tension on them and that the screws on the printer were tightened. But there’s a lot more to it. You have to take into consideration the speed you print at, any additional weight on the gantry (Like the direct drive kit), and any lack of stiffness in the frame.
That third one was one that I wanted to take a stab at. I decided to print 12 of these, and put them on every corner I could. I was very surprised at the results. Pretty much all the ghosting from the Klipper resonance test print was gone. At least for the Ender 5, this is a printable upgrade I highly recommend. I’m sure it would help on other printers as well. The only thing I’m not sure about is that I don’t know if the reason for the improvement was that the braces made the frame stiffer, or if they just dampened the vibrations moving through the frame. It may be a combination of both. I do know that there is a very noticeable reduction in ghosting. It’s pretty much gone.


A 3D pen is super useful
I personally have this one and I use it a lot (The kids use it more). I’m sure pretty much any 3D pen would be useful. There have been many times where I used it to stick parts together or add something small to a print. Most recently, I printed a collapsible dice tower, which turned out to be too unstable, so I just used the 3D pen to fix it into the open position. In my opinion, if you do a lot of printing, this is a must have.
Still happy with Direct Drive
I installed the direct drive mod around the time I wrote my first post about this printer. I originally used this one, which I had remixed to add a cable strain relief. Then I purchased this dual gear extruder, I so I switched to this design. I’ve been happy with the dual gear extruder and direct drive. I still have to put my pancake motor on there to see if that helps with the weight on the gantry. I will update this section after I try that. If you ever purchase a new extruder, I highly recommend this dual gear extruder, especially for the price. The BMG extruders are probably better, but also cost a good bit more.
If you install that extruder, then you will need to multiply your e-steps for the extruder by 1.4.
Flow and E-Steps
So E-Steps and Flow combine together to determine how much filament comes out. E-steps are calibrated by essentially telling the printer to extrude 100mm(or any large value), and then measuring how much the filament actually advanced. If less than 100mm was extruded, then you need to increase your e-steps proportionally. If more than 100mm was extruded, you need to decrease your e-steps. This only needs to be done once when you get started with your printer, and again if you change your extruder, board, or stepper motor.
Flow is how much filament actually comes out. The biggest factor is the actual width of the filament you are using. It’s supposed to typically be 1.75mm, but can often be a little smaller or larger. A good way to figure it out is get a good caliper(I use THESE). There are more expensive calipers that probably have higher accuracy. A good way to measure flow is to use this print at Thingiverse. There’s a calculation there that can help you determine what flow you need to put into your slicer. If you want your prints to be super precise, you will want to do this test on every new filament you purchase.
Belts
Another thing went wrong in the long process of writing this: I had my first belt break. It was the right side y-axis belt. I think it was wearing out at the point of the belt clip on the gantry. I kept having to tighten it a little every couple weeks. And this last time, the belt finally gave up. I didn’t have a spare. So I ordered it, and luckily, I was able to still print out belt clips because I had forgotten to order some. Here are the clips I printed in case you need to print some. It might be a good idea to print a few sets of spares in case an x axis belt break, which means the printer is unusable. Here is the belt that I purchased. I don’t see any difference, for better or for worse, from the belt that came with the printer.
Wire Management
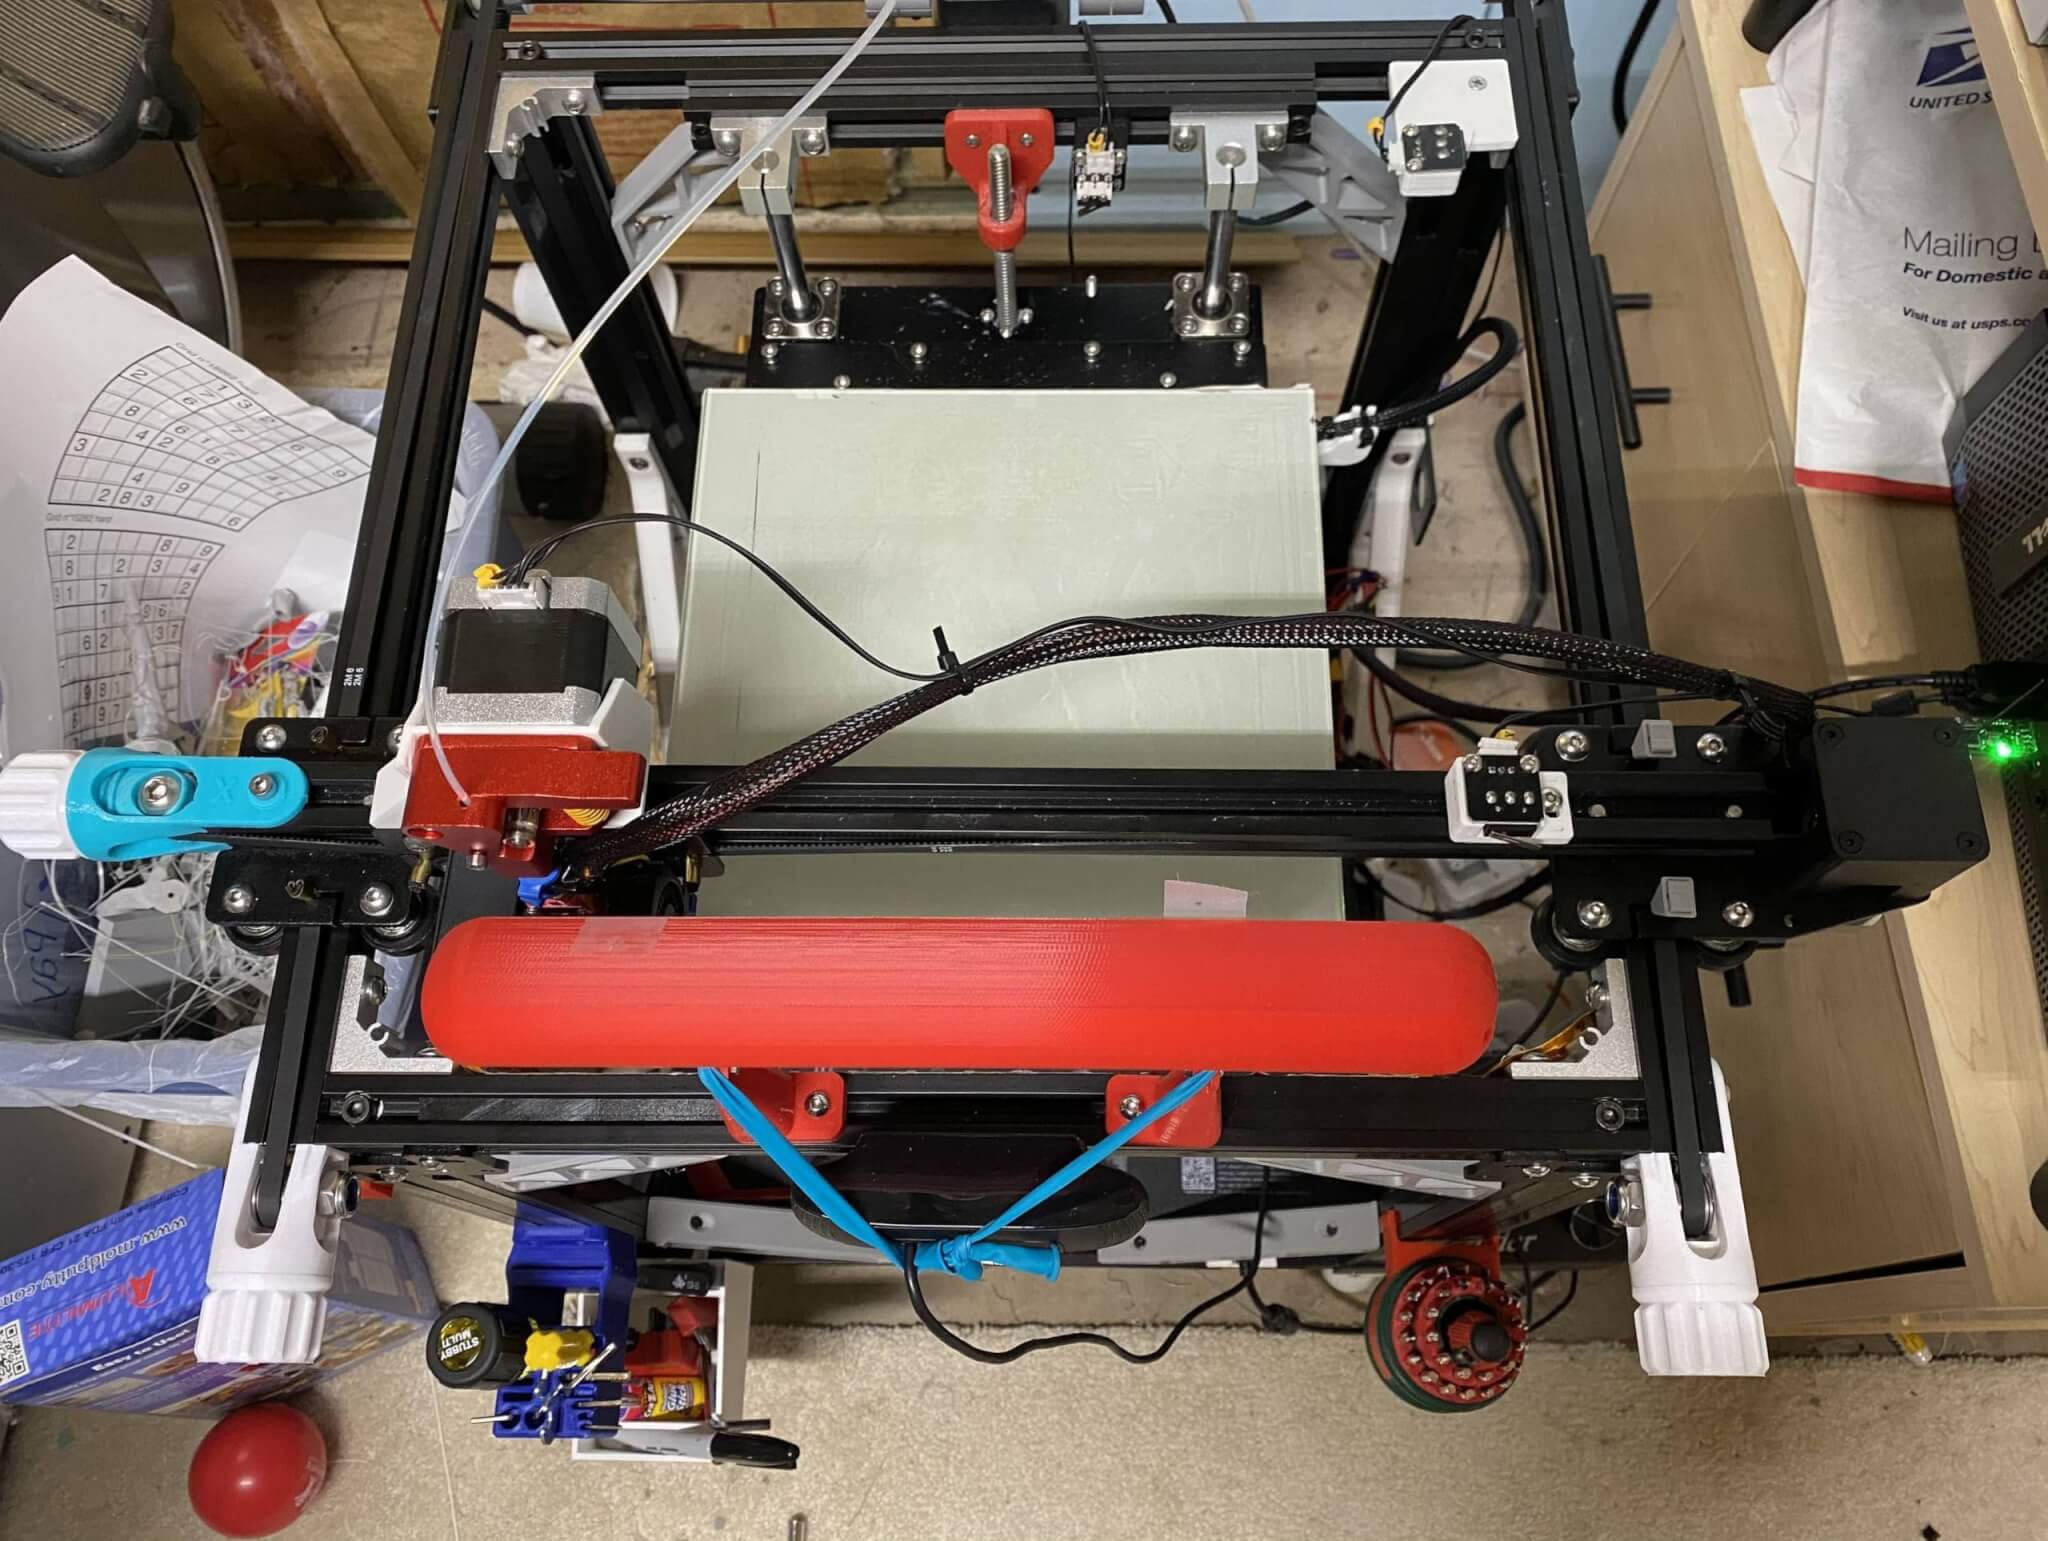
I regularly see people asking about wire management for this printer. I’m sorry to say that I don’t think I’ll have an answer for you that will make it look nice and neat. My printer isn’t out in the open, so I’m more concerned with functional vs nice and neat. And I think most people are concerned with making it nice and neat. And for functional, here’s how I did it. First, I moved the hotend to the front left of the printer (The far corner away from where the wires come out. Then I held the hotend wiring bundle about way down, and held it against the X-axis motor. Next I adjusted the wiring so there is a couple inches of slack in it going from the X-axis motor to the hot-end, and cable tied it there, and at the X-axis motor. This will help ensure that you have enough slack for it to go to the far corner, but not so much slack that it increases the chances of the cables snagging on something. Here are some pictures of what it looks like:

Conclusion
So that sums up the major things I’ve learned over the past year. It’s been a fun and super useful hobby. I’m sure there is still plenty more to learn. I’m considering getting another printer with a larger build volume. And lately I’ve been getting deeper into designed my own stuff in Fusion 360. That’s really where the power of 3D printing shines. My biggest project so far is my Catan player tray I posted here.
Anyway, if you have any comments or questions, please feel free to comment below.
3 Replies to “My First 3D Printer (Creality Ender 5) – One Year Later”