Automatically Upload Timelapses Directly From OctoPrint
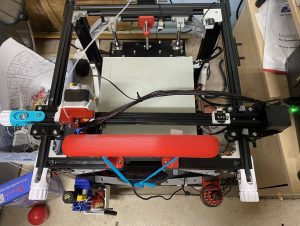
So Amazon has the Sainsmart Coreception for $100 off (I just created a subReddit for it). And since I’ve been looking for a larger CoreXY printer to replace/compliment my Ender 5, I decided to buy it. And while I wait for it to arrive, I wanted to figure out if there was a better way to directly upload my timelapses to YouTube. My old method, stopped working. And since it was a little complicated I figured I would create a better solution that would be more reliable.